Monday, April 30, 2012

Photo Banner How To

As I've mentioned in a few previous posts, the smallest member of our house just celebrated a birthday. Being a (sometimes) frugal gal, I decided to bypass store bought decorations and try my hand at crafting my own.

Pinterest was my best friend during the weeks leading up to N's FIRST b-day party. I searched and searched for decoration inspiration, and I kept coming across photo banners - month by month photos of the birthday boy or girl, strung together and hung for display. It seemed easy enough for this not so crafty girl to attempt.

Here's are basic "How To" directions to help you get started with your own photo banner.

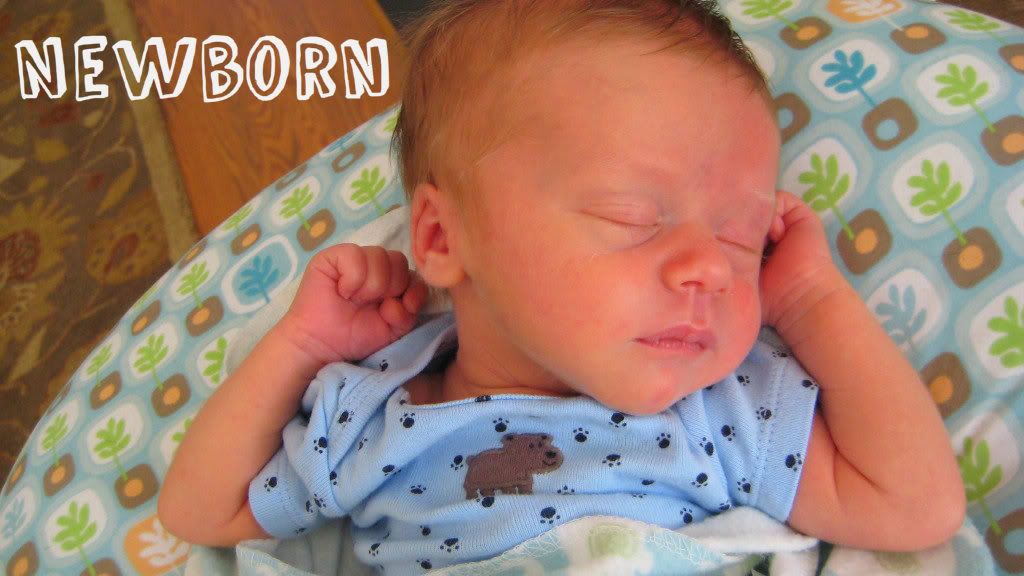
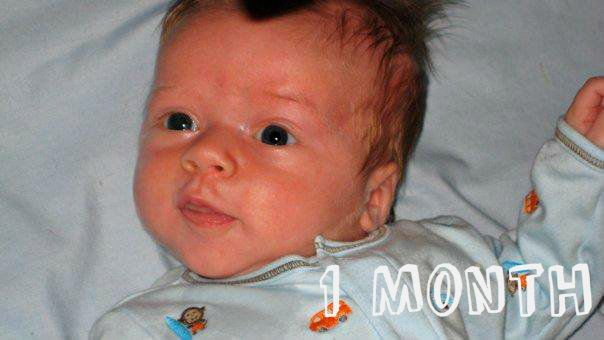
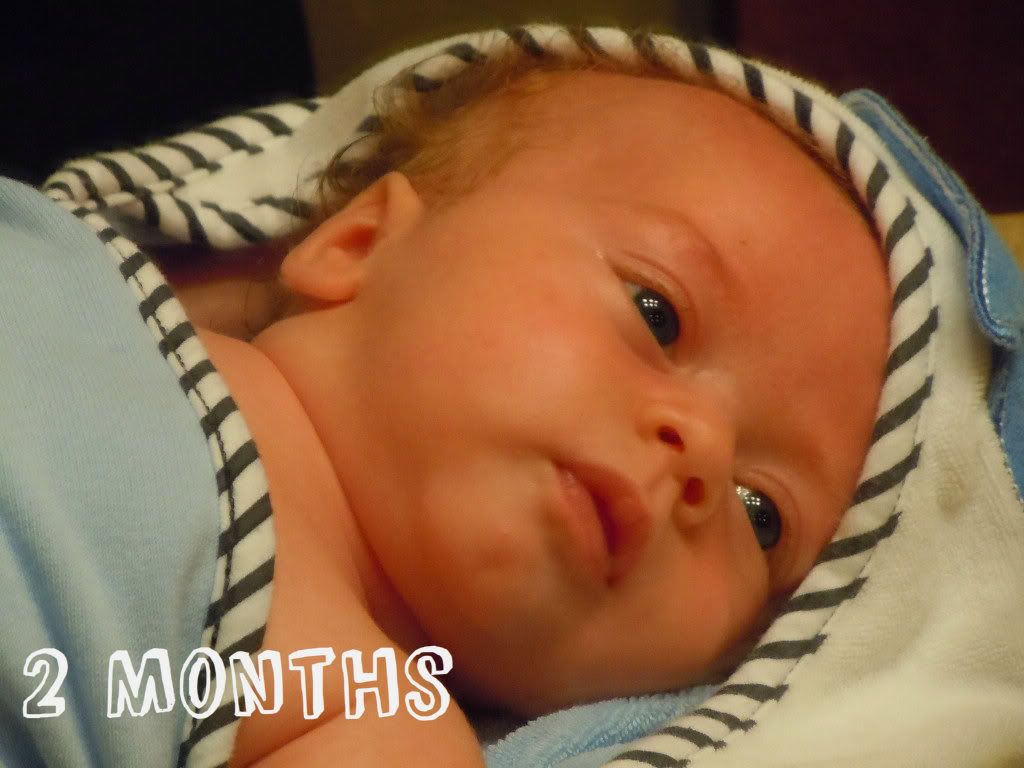
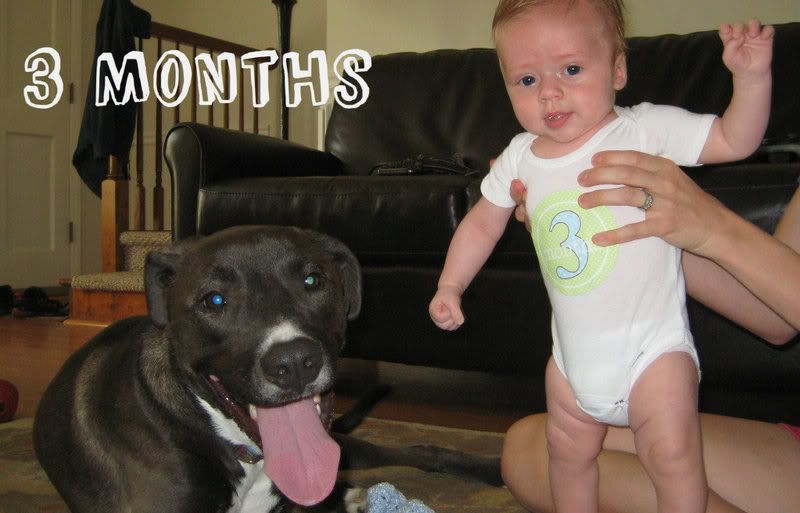
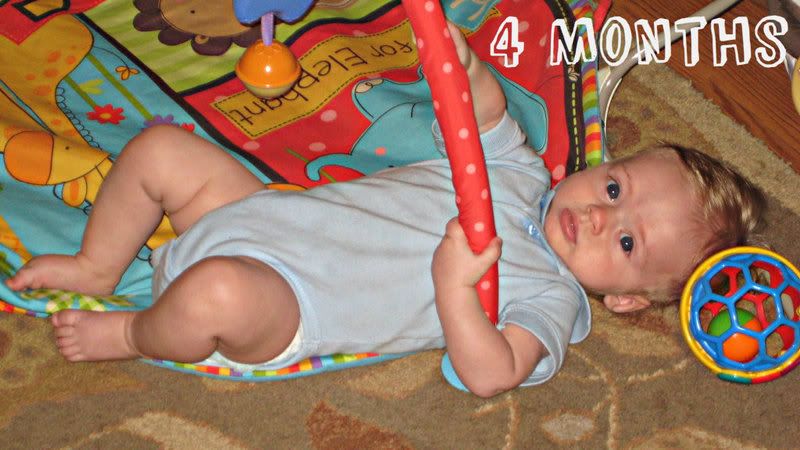
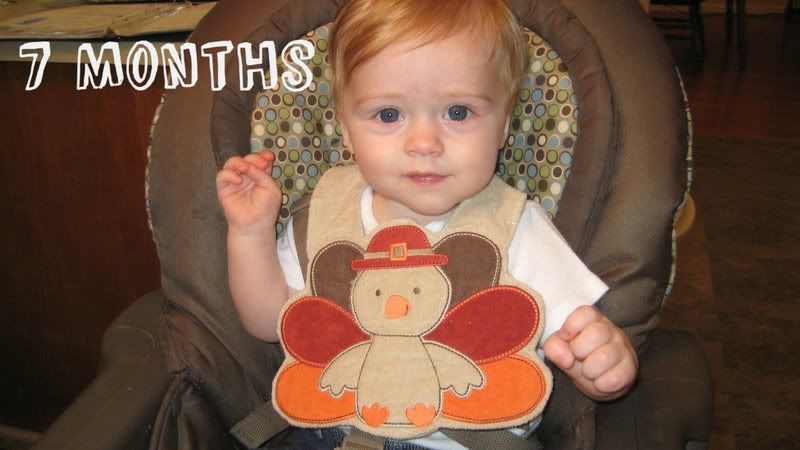
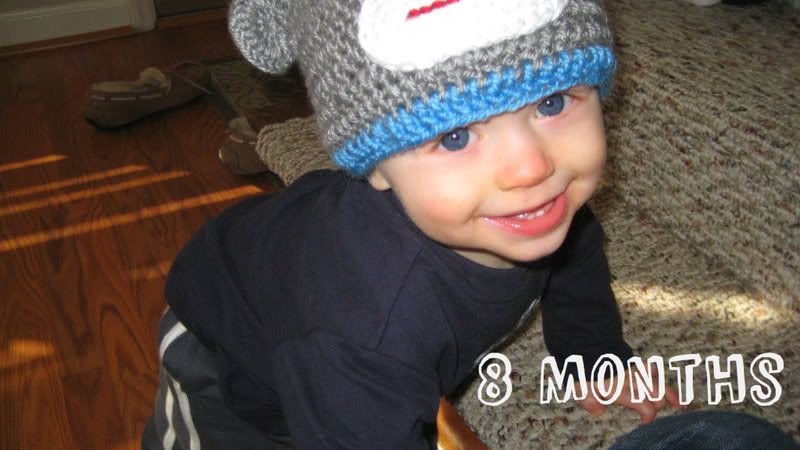
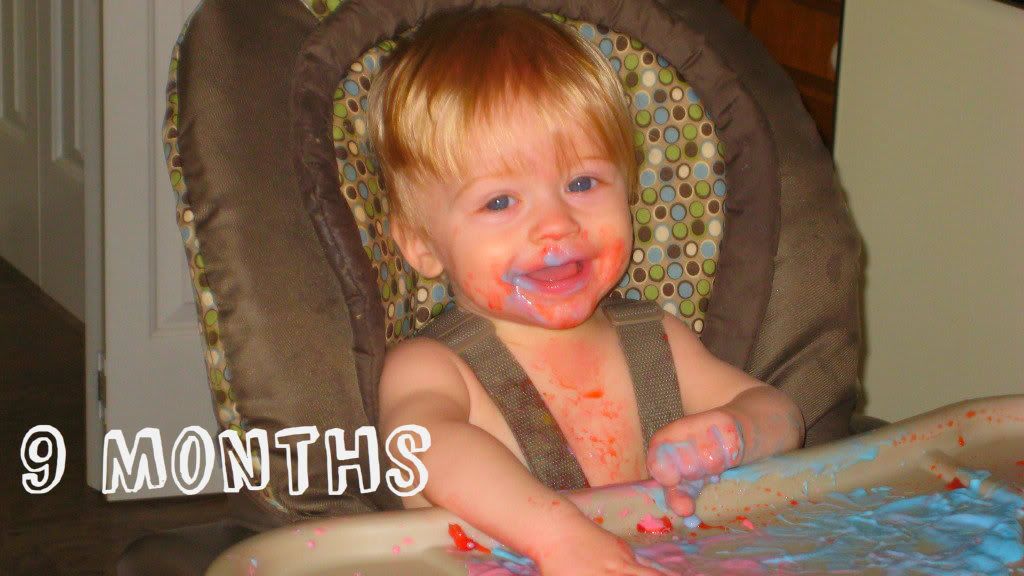
  • Choose one picture from each month of the child's life that you wish to include in the banner. I used pictures from birth through one year, totaling thirteen photos. Be sure to select pictures that are all of the same orientation - all horizontal or all vertical.
  • Upload photos to Photobucket. You'll need to sign up for an account if you don't already have one.
  • Use Photobucket's basic editor to adjust image quality (click Adjustment). Auto Fix is an easy option if you'd rather not put much effort/time into editing.
  • Adjust the size of the images, found under Adjustment. Make sure each image has the same width and height. My images were approximately 700 x 400 pixels. 
  • Add text to your photos, labeling the month of each picture by selecting the Text button. Photobucket has many new and interesting fonts to choose from. Play around with fonts and text placement!

Here's where I would do things differently. I placed the text in a different location on each picture, where I thought it looked best.  I should have known better, but placing text at the top of the image created some issues when it came time to assemble the banner. I had to hole punch through some letters and some words overlapped. If there had been more time for a redo, I would have placed all text at least an inch below the top of the image.

  • Save your images. If working on a Mac, open Microsoft Word and click and drag the images (full image, not thumbnail version) from Photobucket into a Word document. If working on a PC, download your images, save them, and then insert into a Word document. 
  • In Word, double check the size of your images (Format, Picture, Size) to make sure they are all the same. Adjust if necessary.

  • Print and cut out images. If I had more time, I also would have mounted the images on patterned scrapbook paper. 
  • Cut pieces of thin ribbon, about 4-5 inches in length. Punch holes in the upper corners of each image. Thread ribbon through the corners of consecutive images and tie as show below. You could choose to create one long banner by connecting every photo, or you might consider dividing the banner into two sections. My banner became two sections because of the text placement issues I mentioned above - Newborn through 6 Months and 7 Months through 12 Months.

  • Cut longer pieces of ribbon, about 10 inches, and tie to the outside corners of the first and last image (newborn and 12 months in my banner), as shown below.
  • Use tape or pins to hang banner on wall.


Sunday, April 29, 2012

Party Planning on a Dime

Hosting a party, whether it's a child's birthday or a casual get together with friends, can be costly. Take mass quantities of food, toss in some drinks and decorations, and the receipts start to add up.

Party hosting doesn't HAVE to be expensive, though, and there are a number of things you can do to lower expenses.

  • PLAN AND BUY AHEAD - Some party goods have a long shelf life. Think ahead, and when you see items on sale, pick them up and store for later. I knew that I would be hosting my son's first birthday party in April. As the party drew closer, I began to buy inexpensive, and sometimes free , items that I could use for the event, like soda, cake mix, frosting, chips, guacamole (freeze it), and condiments. By buying ahead, I was able to avoid paying full price during the week of the party.
With some careful planning, I spent about $10 for the "snack table" food - dinner & drinks not included. The table decorations were homemade.
  • MENU PLAN AROUND SALES - You won't be able to pick up all your party food for pennies, but you can also save money by planning which food items will be served based on store sales. Check out which meats, fruits, and veggies are on sale. If beef is expensive, you don't have to serve burgers. Consider chicken. Instead of a fruit salad, look for a fruit or two that's in season and less expensive. I stuck to pineapple and strawberries, which were under $1.00 each, at Aldi.
  • STRETCH YOUR INGREDIENTS - When you're menu planning, try to include foods that use the same ingredients in different ways. If you're already buying tomatoes and green onions to use in one dish, see if you can find another use so that extra ingredients don't go to waste. For N's birthday party, I put out a veggie tray. I used some of the same veggies in my side dishes, like pasta salad (a new orzo recipe - YUM!) and a black bean salad - no need to buy extra ingredients.
  • CONSIDER THE TIME OF YOUR PARTY - This is a suggestion I didn't follow myself. If you want to save money, set the hours of our party before or after meal times. Consider a party in the middle of the afternoon, between lunch and dinner, or invite friends over for an after dinner get together. By doing this, you can avoid serving a meal and can instead offer just snacks and drinks.
  • MAKE YOUR OWN DECORATIONS - While skipping decorations altogether is always an option, sometimes you want things to look a little special. Forget about store bought decor, and think about making your own. I found decor inspiration on Pinterest and then turned to programs like Photobucket to help me create my own decorations, like a photo banner and a birthday wall banner (a free printable can be found here) - tutorials to come (I hope).
Birthday wall banner, made using Photobucket.

Newborn - 6 Month Photos

 7 Months - 1 Year

Close Up


Reader Response: What frugal party tips do you have to offer?

Wednesday, April 25, 2012

Turning Deals Into Meals - Chicken Piccata


When we first moved to Durham, about four years ago, I discovered Southern Season, a gourmet food mega store in neighboring Chapel Hill. In addition to a restaurant, deli counter, and aisles and aisles of food and kitchen gadgets, the store offers themed cooking classes. In my pre-baby days, I attended a class every few months or so - knife skills, Southern biscuit making, tomato gardening/cooking. Each class involves either demonstrations from a "celebrity"chef or hands on cooking instruction, paired with a multi-course meal of the dishes that are taught during the class.

This recipe for Chicken Piccata comes from a class the hubs and I took a few years ago, which focused on easy, weeknight dinners. It's certainly a meal that can go from prep to plate in under 30 minutes. The level of effort and difficulty is low, but the meal plates very well and would be an impressive meal for entertaining.

The saltiness of the capers plays well with the acidity of the lemon juice, creating a very tasty sauce. I like to sneak a little extra to pour on top of my side dishes, like a good rice pilaf. :)

Give the dish a whirl; Chicken Piccata just might become part of our regular dinner rotation, as it has in our house.

Chicken Piccata - Adapted from Southern Season

Ingredients:
4 boneless, skinless chicken breasts, trimmed
salt and pepper to taste
1 cup flour
1 cup dried breadcrumbs (I use Panko when I have them)
1/4 cup olive oil
4 Tablespoons butter (time to use up all that free butter from HT)
1/2 cup dry white wine (I like to pick up Winking Owl at Aldi - don't spend too much on cooking wine)
juice of two lemons
2 Tablespoons capers (drained)
Parsley for garnish (optional, I used fresh curly leaf from the garden)
additional lemon wedges for garnish (optional)

Directions:

  • Preheat oven to 375 degrees.
  • Pound out chicken breasts until they are even thickness. Season with salt and paper.
  • Dredge chicken breasts in flour, eggs, and breadcrumbs. Set aside.
  • Heat a heavy skillet over medium high heat. Add olive oil to hot pan.
  • Cook the chicken for a few minutes on each side, until golden brown. Remove from skillet, place in oven safe baking dish. Place in oven to finish cooking, ~ 10-15 minutes depending on thickness of breasts.
  • Wipe excess out of pan and return to heat.
  • Melt 2 Tablespoons of butter in pan. Add lemon juice, capers, and wine. Cook for about 5 minutes, stirring occasionally.
  • Add remaining butter to thicken sauce, whisking constantly.
  • Serve chicken breasts with sauce, lemon wedges, and parsley.

1


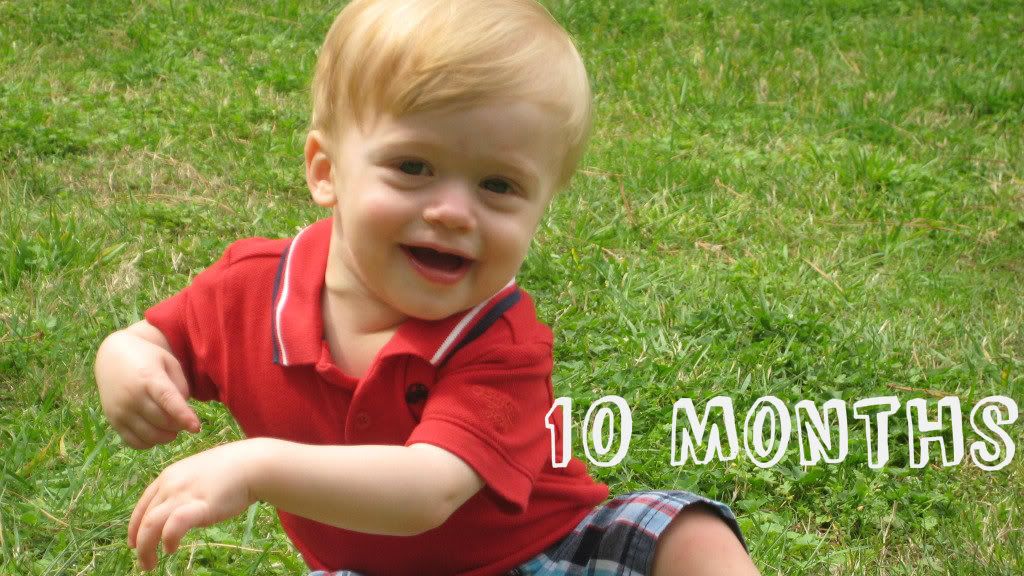
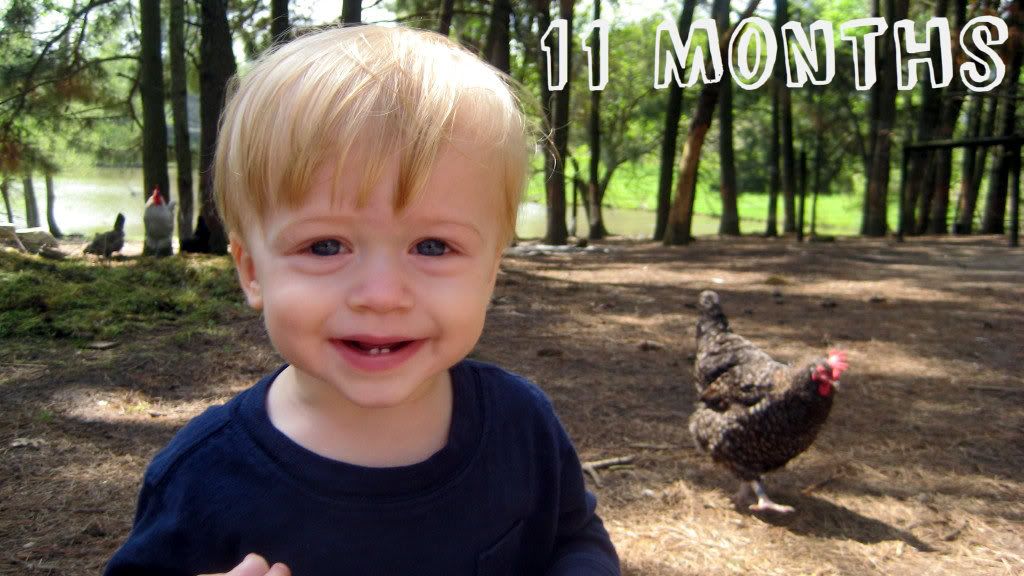
Nolan celebrated his first birthday on Sunday, April 22nd. Here's a sneak peak at the photos I'll be using for his birthday party photo banner. I edited the pictures and added text using Photobucket, which is a free photo editing and storage website. They just released a new version, which has some easy to use, fun features, including many new fonts.

Consider the pictures that follow a year in review.


IMG_2675


1 month


2 months


3 months


4 months


five months


6 months


7 months


8 months version 2


9 months


10 months


11 months


one

Monday, April 23, 2012

CVS Trip 4/23 - $0.83 OOP


I've cut back, way back, on CVS shopping. But today, I found myself with $8.99 in Extra Care Bucks in hand (from buying contact solution a few weeks ago) and in urgent need of deodorant (hubs dropped his and it broke into a million little pieces). It was time to work the CVS system.

In order to take full advantage of my Extra Bucks, I would need to spend at least $8.99. The price of deodorant alone wouldn't come close, so I did some quick deal research to figure out items to buy that would bring me to that $8.99 goal AND earn me more Extra Bucks in the process.

In my first transaction, I bought three $0.99 American Greeting cards. When you purchase three cards this week, including the $0.99 cards, you receive $3.00 in Extra Bucks. I had printed a CVS coupon for $2.00 off three cards, which meant that I spent $0.97 for the cards AND earned back $3.00, a profit of $2.03! I also bought Blink Eye Drops, on sale for $8.99, which earned $8.99 in Extra Bucks. I used a printable coupon for $1.00 off, which meant that I paid $7.99 and earned $8.99 in rewards, a profit of $1.00.

Here's an easier look at transaction #1:

3 American Greeting Cards ($0.99 each)
Used $2.00 off 3 American Greeting Cards CVS coupon (coupon might be gone, but still a good deal without it)
= $0.97
Earned $3.00 ECB, $2.03 profit

1 Blink Eye Drops - $8.99
Used $1.00/1 Blink Drops printable coupon
= $7.99
Eared $8.99 ECB, $1.00 profit

Total = $8.96 + tax
Paid with $8.99 Extra Bucks from previous visit = $0.00 + tax (paid using remainder of CVS gift card)
Earned $11.99 Extra Bucks!

Next, I wanted to use these Extra Bucks to buy the deodorant. In order to use the $11.99 in Extra Bucks, I added in a few items that I had coupons for, like soda, and one that would earn more Extra Bucks, the Physicians Formula makeup ($7.00 ECB for buying any Physicians Formula product).

I could have been a more savvy shopper with this transaction, but really, I wanted out of the store. As a heads up, the soda rang up at the wrong price, and the Physicians Formula Extra Bucks didn't print. I had to ask for both issues to be fixed, and the CVS cashier was very accommodating!

Transaction 2:

2 2-Liter Bottles of Soda (b-day party coming up!) - $0.99 each
Used $1.00/2 Bottles of 7-Up, Sunkist, A&W, etc. printable
= $0.98

1 Degree Men's Deodorant - $3.59

1 box Act II popcorn - $1.00

1 Physician's Formula Concealer Stick - $5.99  
There are coupons for $1.00 off available, but for some reason I'm missing coupons from those weeks
Earned $7.00 ECB, $1.00 profit (Be sure to ask if it Extra Bucks don't print!)

Total = $11.56
- $11.99 Extra Bucks = $0.00 + $0.83 tax
Earned $7.00 Extra Bucks!

So...for pocket change, I came home with the deodorant the hubs needed, bags full of extras, and I still have $7.00 in rewards to use another week. :)

Sunday, April 22, 2012

Turning Deals into Meals - Noodles & Co. Pesto Cavatappi Revamp

Today was my Little Love's FIRST birthday!!

I'll be writing more about his day later, but this post is all about his B-Day dinner (pictured below - I'll get to that soon).


Nolan is our first baby, so I could be wrong, but it seems pretty traditional to serve a kid their favorite meal on their special day. I thought this over, trying to decide if N has a "favorite" meal. He's far from a picky eater, and he usually eats the same foods the hubs and I are having, but there are a few foods that N seems to devour more quickly than the rest, begging for more using his little sign language request (how could you say no to that??).

A menu of N's Favorites would read something like this:
Cold, unseasoned tofu cubes
Cold, unseasoned black beans
Cheerios, hold the milk

While I'm all for indulging the boy on his birthday, I needed to eat dinner too...and that food combo sounded terrible.

So, I gave the fridge a once over and decided that I wanted to use some of the free pasta I picked this week up at Harris Teeter, as well as a few ingredients leftover from a Greek pizza I made a few days ago (cheap veggies from Aldi). The idea for a tweaked version of Noodles & Co. Pesto Cavatappi was born.

For those who are unfamiliar, Noodles is a counter service restaurant - think Moe's, Q-Doba, Panera, etc. - serving, well, noodles. Their Pesto Cavatappi dish looks like this.


It's basically a corkscrew pasta with a pesto sauce, tomatoes, onions, and mushrooms. Nothing too fancy, but fairly tasty. My version was similar but kicked up a few notches.

The birthday boy LOVED his special meal, and Momma LOVED the glass (es) of wine she had from the bottle used in the dish. Win, win!

Allison's Revamped "Pesto Cavatappi"- Minus the Cavatappi - Feeds 4

Ingredients:
1/2 box Whole Grain Penne (or other tube or corkscrew pasta)
a few tablespoons of olive oil
1 pint baby bella mushrooms, sliced
1/2 onion, thinly sliced
prepared pesto (I used ~ 1/2 of a container from the Trader Joe's cold food section)
1/2 pint of cherry or grape tomatoes, halved
1 roasted red pepper, thinly sliced or chopped
a "splash" of white wine
a "splash" of whole milk or cream (could leave out and use reserved pasta water)
crushed red pepper flakes to taste
salt
pepper

Directions:

  • Cook pasta according to package directions. While pasta is cooking, heat a large frying pan over over medium to medium high heat. Add olive oil. Add onions and cook until tender and beginning to brown, about 10 minutes. 
  • Add sliced mushrooms to pan. Season with salt, pepper, and red pepper flakes. Cook 3-5 minutes until tender.
  • Reduce heat to medium low and add drained pasta to pan. Stir in pesto, a splash of white wine, and a splash of milk or cream. Mix until pasta is evenly coated. 
  • Add tomatoes and roasted red peppers. Stir to combine and continue to cook for a few minutes, until pasta is heated through and tomatoes have wilted (would that be the correct word??).
  • Plate and top with parmesan cheese, if desired.

Saturday, April 21, 2012

Harris Teeter Super Doubles - $1.84 OOP


Though I haven't been posting coupon deals recently, I haven't completely given up deal shopping. I did let my Sunday newspaper subscription expire last week (GASP!), but I've noticed that, at least for now, I'm doing just fine relying on internet printables.

Harris Teeter is running another Super Doubles promo this week, which means coupons with a value up to $1.98 will double in value. Shoppers are limited to 20 doubled coupons each day, and you may only double two of the same internet printable in a given transaction.

I went to HT this morning and using my coupons, I was able to pick up the pictured items for just $1.84 + tax, saving almost $30!

The promo runs until Tuesday evening, so there's still time to score the same deals. I've included the coupon matchups for my purchases, but to see a more complete list, check out Homemaking Mom. As you print coupons, keep in mind that you are able to print two of the same coupon per computer.


Hillshire Farm Gourmet Creations Sausage - $3.99
Use $1.00/1 Hillshire Farm Gourmet coupon attached to product x 2 (doubled)
and Use $1.50/1 Hillshire Farm Gourmet e-vic coupon (must load to store card) = $0.49

Gain Laundry Detergent - $3.77 (Saturday only special)
Use $1.00/1 Gain coupon (P&G home mailer) x 2
and Use $1.00 e-vic coupon (must load to store card) = $0.77


Silk Soy Milk Half Gallons - $3.29
Use $1.50/1 Silk Product Printable (must register) x 2 = $0.29 each
* Silk quarts are less than $3.00 and would be free using this coupon - chocolate wasn't available.

Uncle Ben's Original Rice Cups - $1.00
Use $1.00/2 Uncle Ben's Original Rice Printable x 2 = FREE when you buy 2

Barilla Whole Grain Pasta - $1.69
Use $1.00/1 Barilla Whole Grain Printable x 2 = FREE

I Can't Believe It's Not Butter - $2.15
Use $1.25/1 ICBINB Printable x 2 = FREE

Other Deals I Like - Not Pictured

Wholly Guacamole - $2.50
Use $1.00/1 Wholly Product Printable x 2 = $0.50

Emerald Breakfast On the Go - $2.50
Use $1.00/1 Breakfast on the Go Printable x 2 = $0.50

Alexia Fries and Sweet Potato Fries - $3.00
Use $1.00/1 Alexia Product Printable x 2 = $1.00

Starbucks Coffee Beans - $5.97
Use $1.50/1 Starbucks Printable x 2 = $2.97

Wednesday, April 18, 2012

Do It Yourself - Birthday Banners


Over the past few weeks, I've spent way too much time searching for party decorating ideas for Nolan's first birthday. I scoured Pinterest for inspiration and then turned to Etsy after feeling short on time and low on crafting skill.

I was THIS close (thumb and pointer finger super close together) to giving in and buying a printable birthday banner from an Etsy shop. The idea is actually great. Shops offer coordinated party decorations - banners, cupcake toppers, invites, food labels - you name it. Many allow you to purchase a PDF file, which you can then print from home. No waiting for delivery.

If I had been more open to giving up the color scheme that's been living in my brain for a while, I could have picked up some really cute decoration files for about $5. Alas, I was not open. I DID find a shop that offered personalized decor, where I could specify backgrounds, colors, fonts, etc. But...with personalization comes price. A banner would set me back about $15. Additional decorations were about the same.

I have been a bit spend happy lately, but apparently, my money saving conscience hasn't gone away. I just couldn't bring myself to pay that much money without first taking a crack at making my own decorations.

Which brings me to today and my attempt at making a birthday banner.

I'll start by saying that this project ended up an unexpected success. That being said, it would have been a whole lot easier if I had some scrapbook/graphic design software, which I've got to believe would have saved me some tedious steps.

After a few hours of playing around with Word, Photobucket, and screen capture, I ended up with two banners, using chevron backgrounds in my original color scheme, which I'm actually really happy with! AND - they will end up costing me just $2.50 - the price of the pack of card stock on which the letters were printed.


Highchair Banner

My banners still need to be assembled. I plan hole punch and run a ribbon through the cards - something like this, minus the polka dots...

Photo from Oopsey Daisy

To help you avoid the cost of buying a banner, or the stress of making your own, I'm happy to offer the PDFs for the banners I created! Simply open the file, and print each letter one page at a time, on white card stock. Printing page by page will help you avoid a jam from the thicker paper. Keep in mind, the banners aren't perfect, but hey, they're FREE!

Birthday Banner PDF
I AM 1 High Chair Banner PDF

Like it? Pin it!

Monday, April 16, 2012

Turning Deals into Meals - Homemade Pizza


I love throwing together a homemade pizza, mimicking my favorite combos from restaurants for a fraction of the price.

I mentioned that I stopped by Trader Joe's a few days ago. While most of the items I picked up weren't true deals, the whole wheat pizza crust I bought definitely was. At about $1/crust, it was a great price for the type of product.

I bought it with toppings that were already in my fridge in mind - kalamata olives, roasted red peppers, feta, onions, and pesto - a Greek pizza of sorts.

There was nothing revolutionary about this meal, but it sure was tasty. The great thing about homemade pizza, is you can easily adjust the ingredients I used to fit what's already in your house.

So here you go, my "recipe."

Ingredients:
Whole Wheat Pizza Crust (I used Trader Joe's)
Pesto
Shredded Italian Blend or Mozzarella Cheese
Kalamata Olives - chopped
Roasted Red Peppers - chopped
caramelized onions (see directions below)
feta

Directions:

  • Thinly slice one onion. Add olive oil a large frying pan and heat over medium heat. Add onions and cook at least 20-30 minutes, stirring frequently, allowing onions to brown until they look like this...

  • Prepare pizza crust as directed. Top evenly with pesto and shredded cheese.
  • Add olives, red peppers, onions, and feta to taste.
  • Bake according to crust directions. 

Saturday, April 14, 2012

Oh Where, Oh Where is this Little Blog Going?

After a few days with no blog posts, some of you might have thought that I'd abandoned ship. I've "threatened" to do that a number of times - skip the deal finding and leave the blog behind.

I haven't done that...yet...but there are some reasons behind the mini blog hiatus.

1. The Weather - It's been gorgeous outside. Warm air and that cloudless Carolina blue sky. I just don't feel like sitting in front of a computer when there is so much else I could be out doing.

2. The Boy - Nolan has been walking for a few months now, and there's just no slowing him down. Gone are the days of firing off a blog post while N plays. Just not going to happen. And, with the combo of N walking and the nice weather, there are so many new things to get out to do. A trip to the park, playtime in the backyard, a walk to the pond. Though the boy sure does love his technology, I'd rather find activities for us that don't involve Apple products.

3. A Spending Spree - As a (sometimes) deal finding blog, you would think I'd be ashamed of this one, but frankly, I'm not. I've been on a bit of a spending bender, which started with Easter basket shopping. With Easter, my birthday, and Nolan's birthday all in the month of April, I've been tuning out my frugal mind and buying what I feel like buying. A pair of Baby Tom's for Nolan? Why the heck not??? Keep the Hunter boots the hubs bought me and actually upgrade for a more expensive pair? Absolutely! Stop at Trader Joe's for a "few" things? Sure, it's on the way home.

Being spend happy again has been a bit of a rush, but like a kid on a sugar high, I might come crashing down when I take a look at this month's budget spread sheet. At least the boy and I will have some stylin' feet!


So, long story short - I really haven't been up for deal blogging lately. I apologize to those of you who follow solely for the deals. I'm sure the sporadic food and kid posts I have been doing aren't cutting it for you.

I'll leave it with this; I'm not really sure where I'll be taking this blog, but I'd be happy if you decide to stick with me for the ride!

Tuesday, April 10, 2012

Turning Deals Into Meals - Whole Wheat Waffles from The Baby Bistro


I probably shouldn't categorize this recipe under "deals." None of the ingredients involved were actually sale items, but for lack of a better place, here it is.

This was my second attempt at a Baby Bistro Cookbook recipe; this time Whole Wheat Waffles. I admit that I don't have much, or any, experience making my own whole wheat waffles. When the hubs and I normally fire up the waffle maker, it's for fatty, regular old waffles, drenched in syrup and frozen berries. Given that I don't have experience making the whole wheat version, I might be way off here, but the Baby Bistro recipe seems to be a bit lower in fat and sugar than a typical recipe.

The waffles were quick and easy to throw together, N seemed to enjoy them, and I was able to throw a few leftovers in the freezer to use another day.

The recipe follows.

Whole Wheat Waffles
Recipe from The Baby Bistro Cookbook

Ingredients:
1 cup whole wheat flour
1/2 cup all-purpose flour
2 teaspoons baking powder
1/2 teaspoon salt
2 eggs
1 1/2 cups milk
3 tablespoons vegetable oil

Directions:
  • In a large bowl, stir together the whole wheat flour, all-purpose flour, baking powder, and salt. 
  • Stir in eggs, milk, and oil until blended. 
  • Pour batter (~ 3/4 cup for regular size waffle maker) into hot waffle iron. Cook according to machine directions.


Monday, April 9, 2012

The Best Things in Life - Easter Weekend Then and Now

As Easter weekend wrapped up, I found myself thinking quite a bit about how vastly different Easter 2012 was from Easter 2011.

A few days ago, Nolan and I spent a busy Good Friday together. We ate lunch at a restaurant with a friend, where N sat in a high chair, feeding himself pieces of our meals. We came home for playtime with the puppy. Nolan ran around the yard, threw Cooper his ball, and helped me rake the garden.


It's almost unbelievable that the picture below was taken LAST YEAR on Good Friday, yes the day my baby boy was born.


Saturday of Easter Weekend 2011 was spent in the confines of Durham Regional Hospital, being initiated into the world of motherhood and "joys" of nursing. Nolan was introduced to friends and slept, slept, slept. It's exhausting work making an entrance into the world.

Sometimes I miss that tiny baby. That puffy face, I do not miss.


This year, Saturday of Easter weekend was filled from beginning to end - our first official family photo shoot at Duke Gardens and an anesthesia department party at a Durham Bulls game - surrounded by doctors, but this year, no IVs or epidurals. At the end of the day, Nolan slept, slept, slept, just like 2011 (minus the hunger wake up calls) - but this time because he exhausted himself running, running, running.


Easter Sunday of last year, was the day we brought our Little Love home to meet his "big brother."


Between Easter baskets, brunch with friends, playing in the garden, and a hysterical crying fit in the church nursery, this Easter Sunday felt a far cry from the relative calm of our first Easter together as a family - though no less special. Chaotic and perfect.


I feel fortunate that Easter now gives me one more reason to remember how abundantly God has blessed me and how much HE loves me.

Turning Deals Into Meals - Baby Friendly Banana Bread


On our most recent trip to the library for baby story time, I spotted a book called The Baby Bistro Cookbook, written by Johee Muromcew, a collection of baby and toddler friendly recipes for everything from dinner entrees to party snacks.

When I first started making Nolan's baby food, I primarily searched the internet for help (loved the Wholesome Baby Food website).  I never bothered to buy or check out actual books - partially because I felt I had figured things out and partially because I was just too lazy.

Since N moved on from purees to table foods a few months ago, he's been eating, more or less, the same food I do. He eats well, but I've felt like I've been struggling for new ideas for little one friendly breakfasts and snacks, so I decided to give The Baby Bistro a try.

After a quick flip through, I found the book's lunch and dinner ideas to be a bit bland for our taste, but I flagged a few recipes for lower fat and sugar versions of different breakfast and snack favorites, like whole wheat pancakes and waffles.

This afternoon, I tried out the recipe for banana bread (trying to use up some of those free eggs I picked up at HT a few weeks ago), and despite my complete lack of baking competence, it turned out to be a great tasting bread that both Nolan and I enjoyed - much less sweet than the recipe I typically use. If you're looking to pick up bananas on the cheap, check out Aldi, where they're typically just $0.44/lb.

The recipe follows.

Banana Bread
Recipe from The Baby Bistro Cookbook

Ingredients:
3 very ripe bananas, peeled and mashed
1 egg
1/2 cup packed brown sugar
1/4 cup vegetable oil
1 teaspoon vanilla extract
1 1/2 cups all-purpose flour
2 teaspoons baking powder
1/2 teaspoon baking soda
1 teaspoon ground cinnamon

Directions:
  • Preheat the oven to 350 degrees F. Grease a 9" x 5" loaf pan; set aside.
  • In a large bowl, whisk together the bananas, egg, brown sugar, oil, and vanilla just until blended.
  • Add the flour, baking powder, baking soda, and cinnamon and stir just until blended.
  • Pour into prepared pan and bake for 45-55 minutes or until a toothpick inserted in the center comes out clean.
  • Remove from the oven and cool for 10 minutes on a wire rack. Remove the bread from the pan and let cool completely on the rack.
Reader Response: Do you have a favorite baby/toddler friendly breakfast or snack recipe?